How to make Your own Minecraft server - Part I
This Page/Article IS Billingual
这个页面/文章是双语的
English Version:
Have you ever seen your friends play on major BIG servers such as Hypixel, OPBlocks, pvp SUPER BIG SERVERS? have you ever hated the big servers lag and way too many holograms & npcs to make the server even more annoying, have you ever thought about building your own server and playing it with your friends instead of Open-To-LAN Singleplayer worlds? Well now you can with this tutorial!
IMPORTANT!!!
This tutorial only represents ONE version of the server software, also the one I am using, which is Spigot. If you want to install mods or use a different software, then this tutorial is not for you.
Ok, Let’s start, to get started you must have a dedicated PC/Laptop for the server, the RAM should be at least 4 Gigabytes(GB) and the CPU should be at least Intel i3 (I do not use AMD so don’t judge me), but I used 8 GB’s of RAM for a better experience, my laptop running the server is a ThinkPad E450(CPU is Intel Core i5), you can use any old computer in your house, not too old that it runs windows 95 with a celeron processor! The system should either be Windows or Linux, since I prefer linux more than windows because linux uses less ram and is better customizable, this tutorial I will use linux terminal to show you guys.
The next step is to download the .jar file from the official website of bukkit here:
https://getbukkit.org/download/spigot
(I know this is very weird, but spigot and bukkit kind of share the same framework, so plugins can be used on both sides, don’t worry if you don’t know this, I will explain this later)
If you want to download the Spigot 1.19 .jar file quickly, then click here…
Also there is no adf.ly bit.ly or forge ads because the files are self-hosted! :3
Now to the difficult software-installation steps~
First get on your linux computer, assuming that you do not have openssh(ssh client) installed, we will install it now with
sudo apt-get install openssh-server
and enable the software by
sudo systemctl enable ssh
then start the service
sudo systemctl start ssh
NOTICE
use these commands to allow the ssh connection through the linux firewall(ufw)
Now you can access your linux Minecraft server with ease!
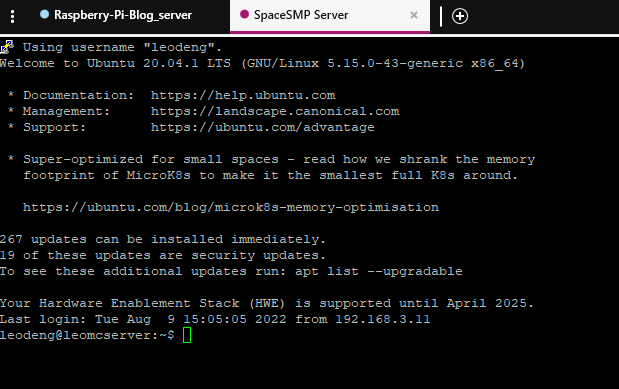
Install a SSH client such as PuTTY, KiTTY, or Solar-PuTTY, whatever you like, and connect to your server using your_linux_server_ip_address:22, when you have connected to the server, it should look something like this
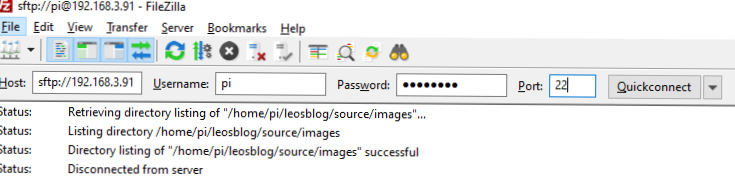
Now you will need a file-sharing (ftp sftp) client, I will use Filezilla as an example here
Install java for your computer (Minecraft version 1.18 and up needs java 17)
sudo apt-get install openjdk-17-jre-headless
Create a folder for your server
cd ~
mkdir YOUR-SERVER-NAME
END OF TUTORIAL I, PLEASE WAIT FOR II